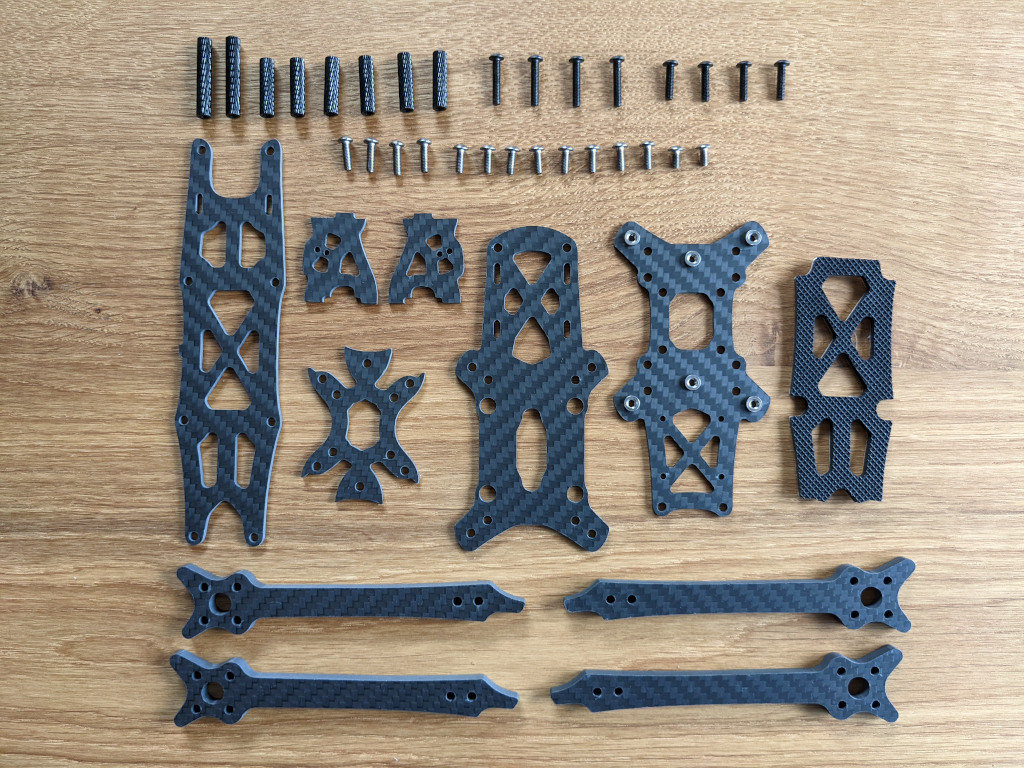
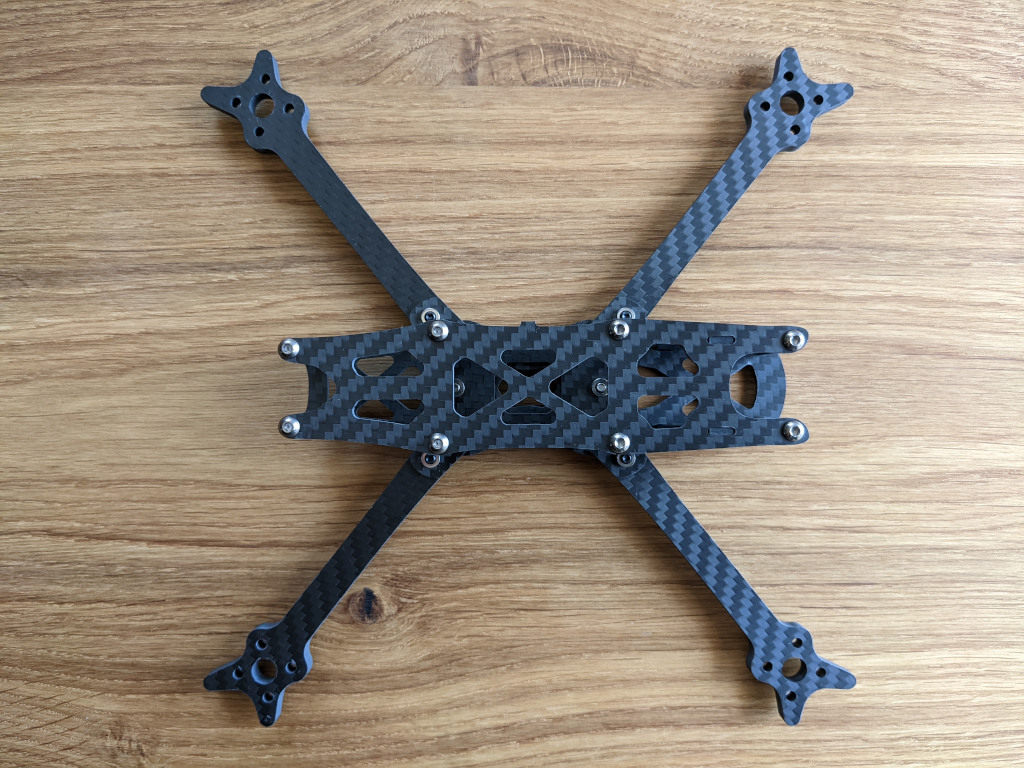
Wild Frog Stone GTF consists of the following parts:
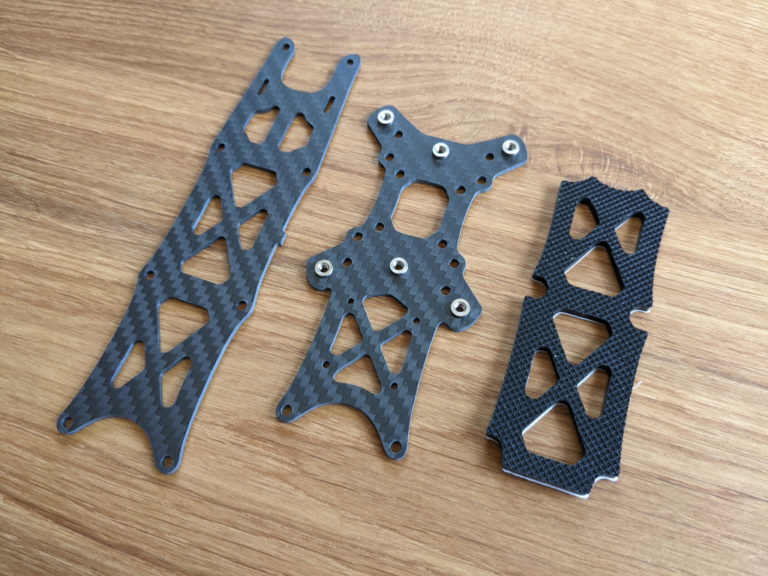
Toray Carbon Fiber plates 2mm thick, including top plate, center plate with factory mounted stainless steel pressnuts, interlock plate, bottom plate and two side plates,
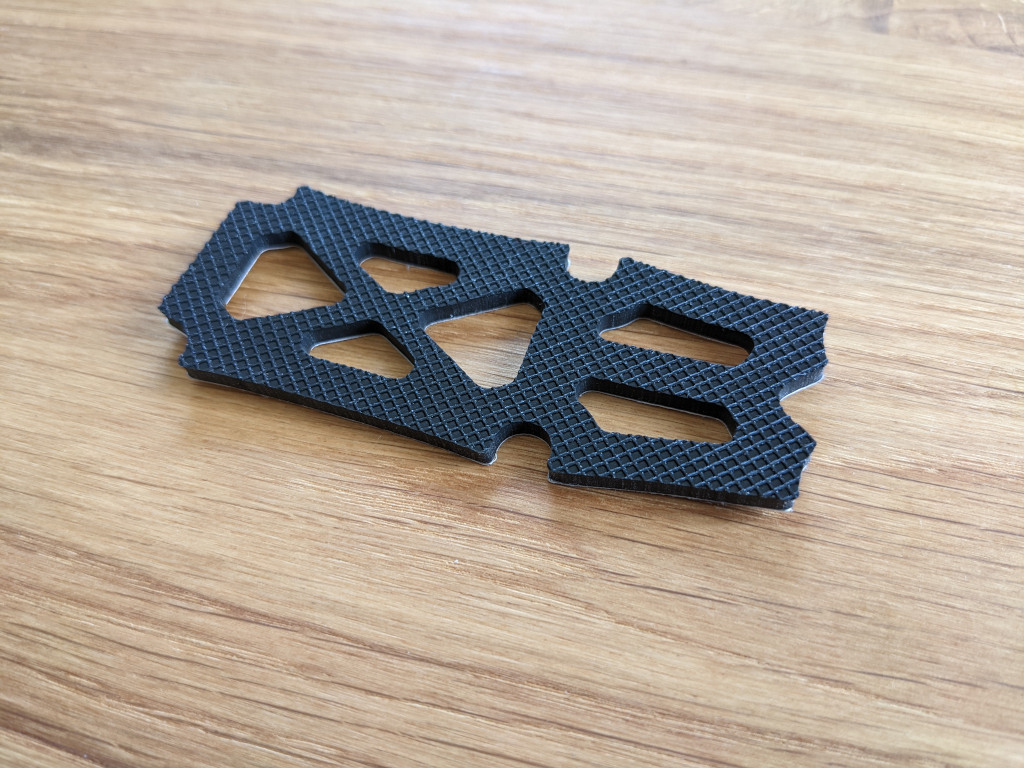
Toray Carbon Fiber parts 5.7mm thick, set of 4 pieces,
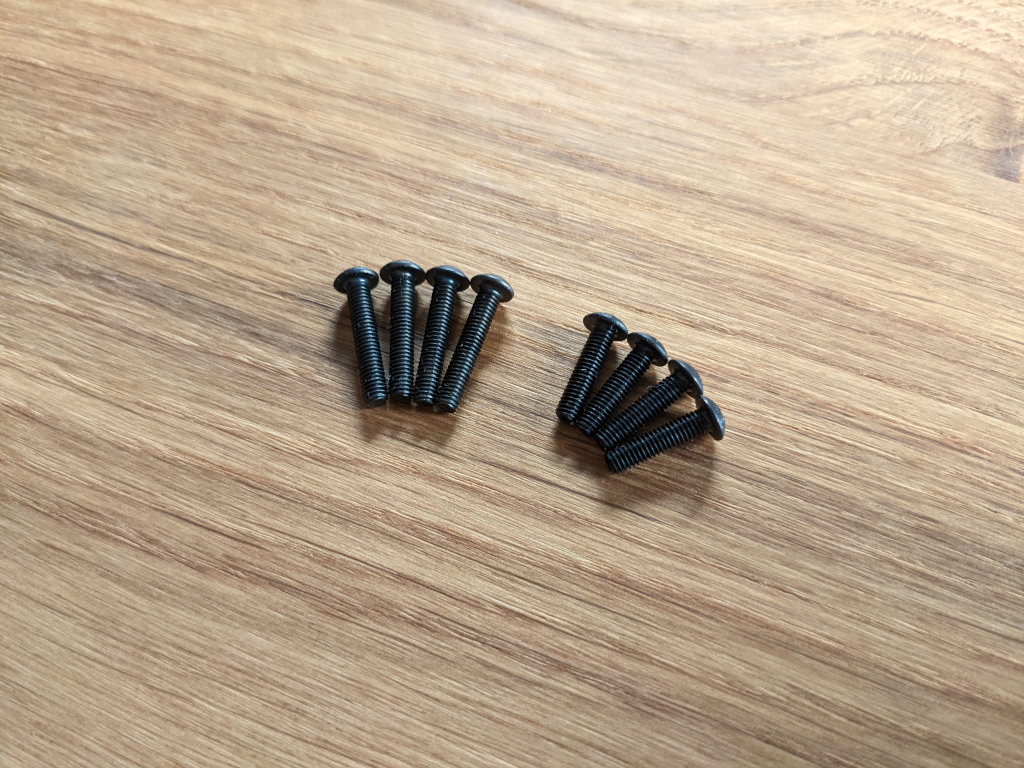
Set of 12.9 steel M3 button head screws: 4x 12mm, 4x 16mm,
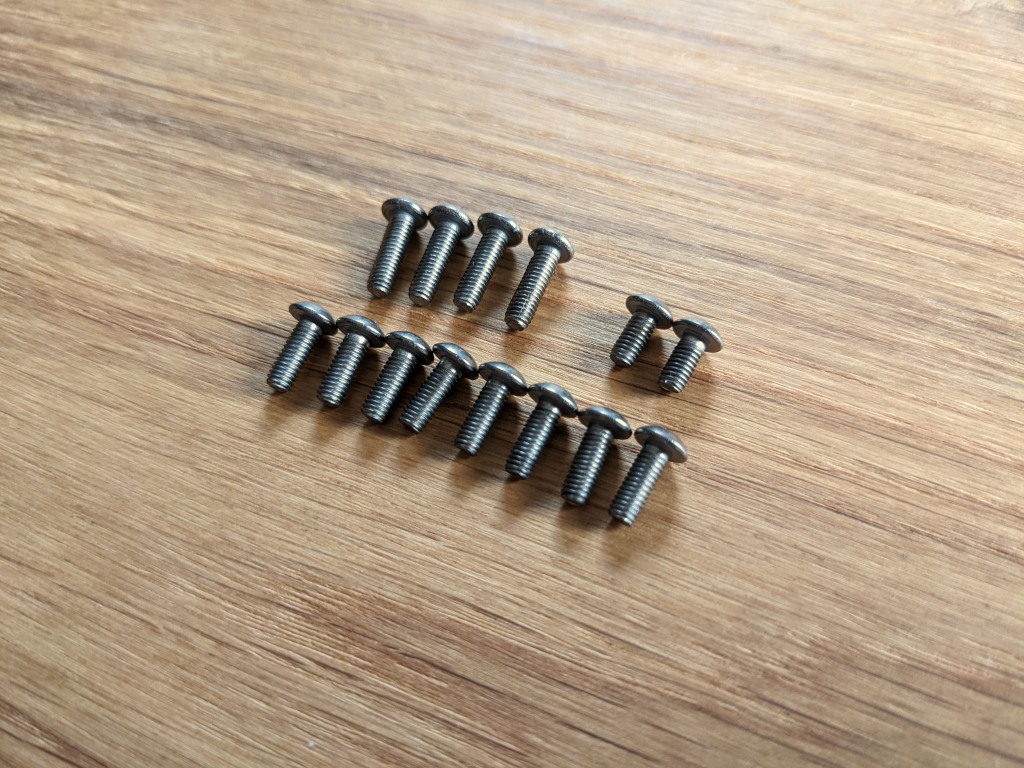
Set of titanium M3 button head screws: 2x 6mm, 8x 8mm, 4x 10mm,
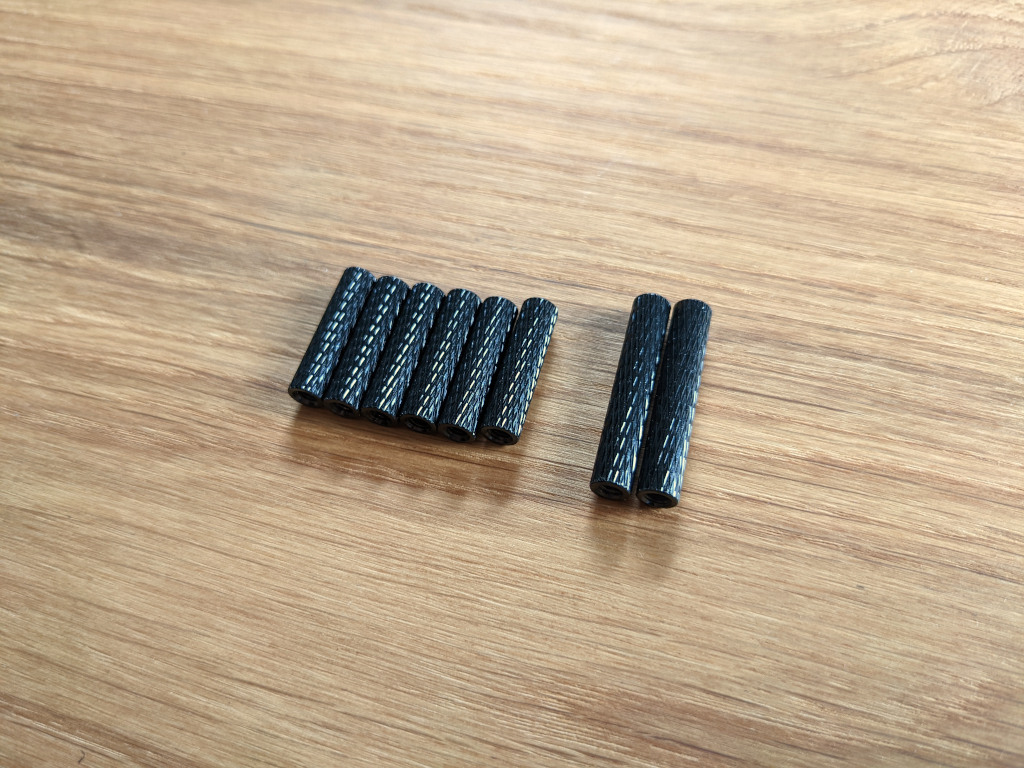
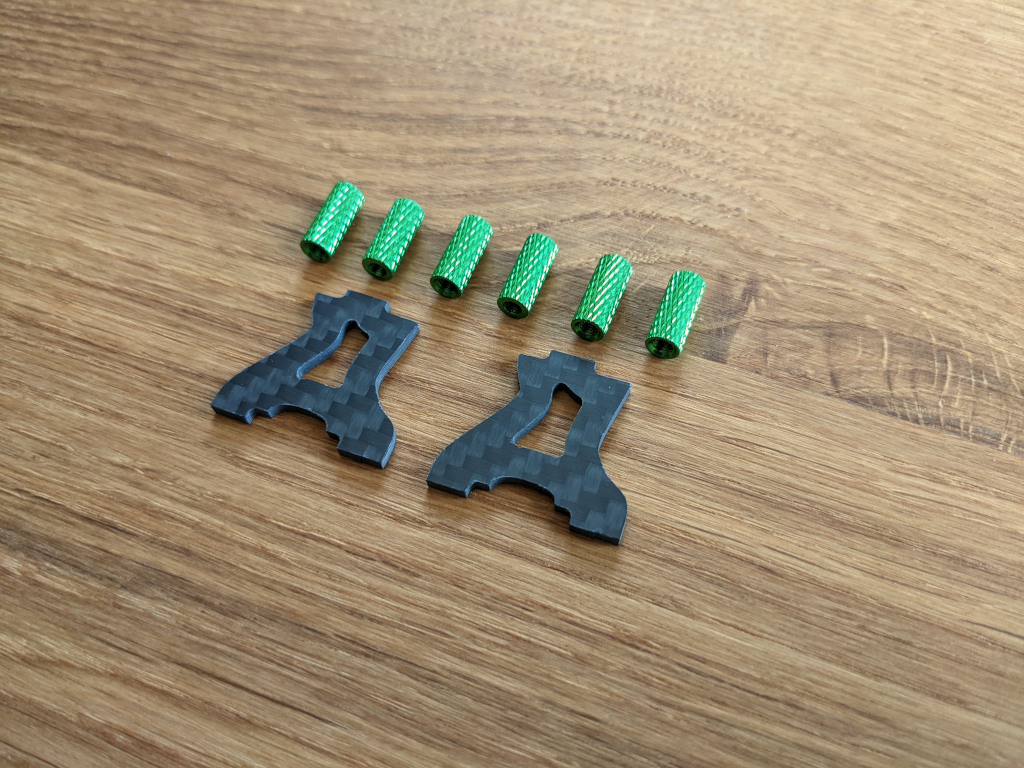
Set of aluminum standoffs: 6x 20mm, 2x 28mm,
3M anti slip silicone lipo pad.
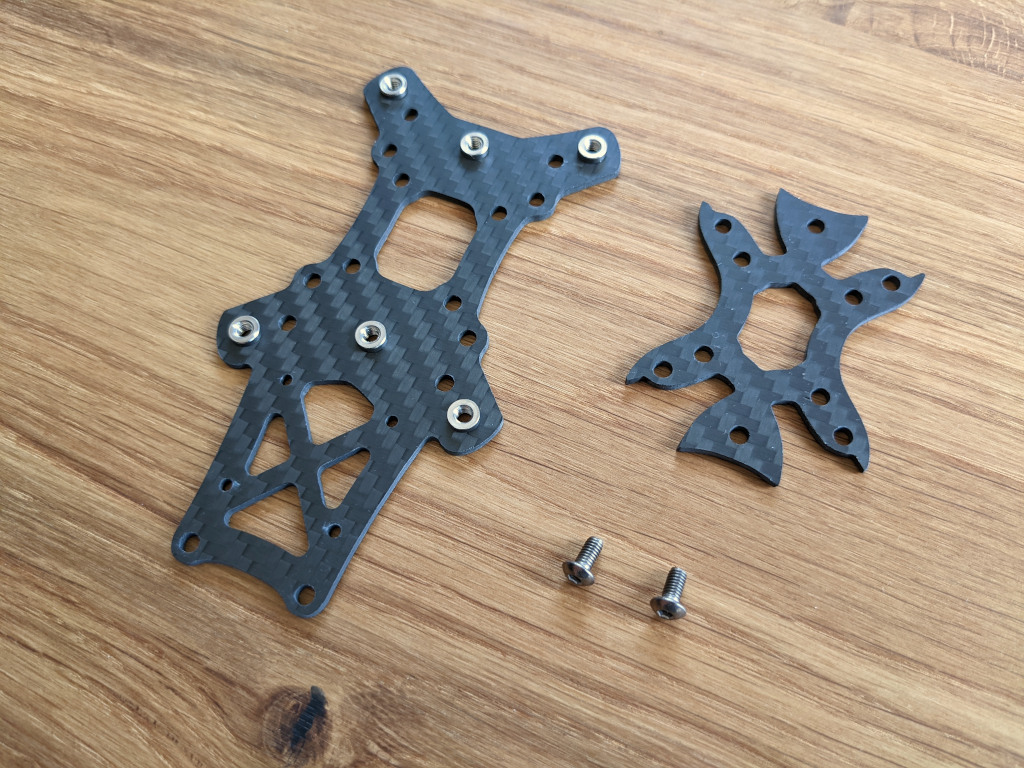
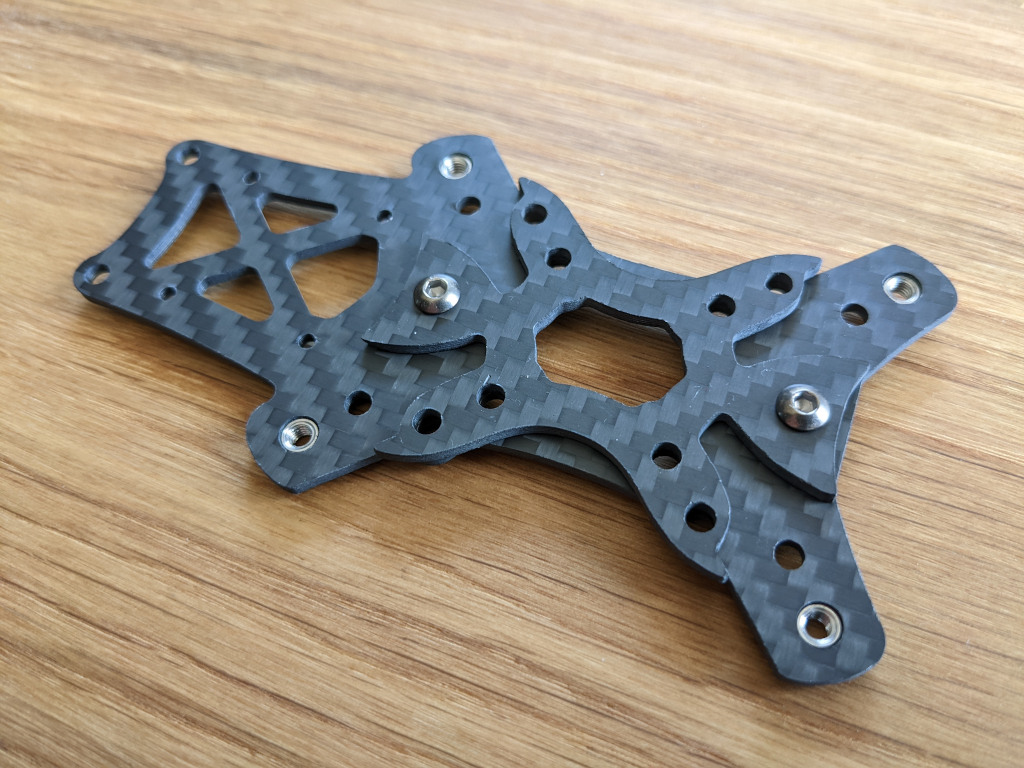
Step 1 - interlock plate
Connect the interlock plate with the center plate using M3x6mm titanium screws.
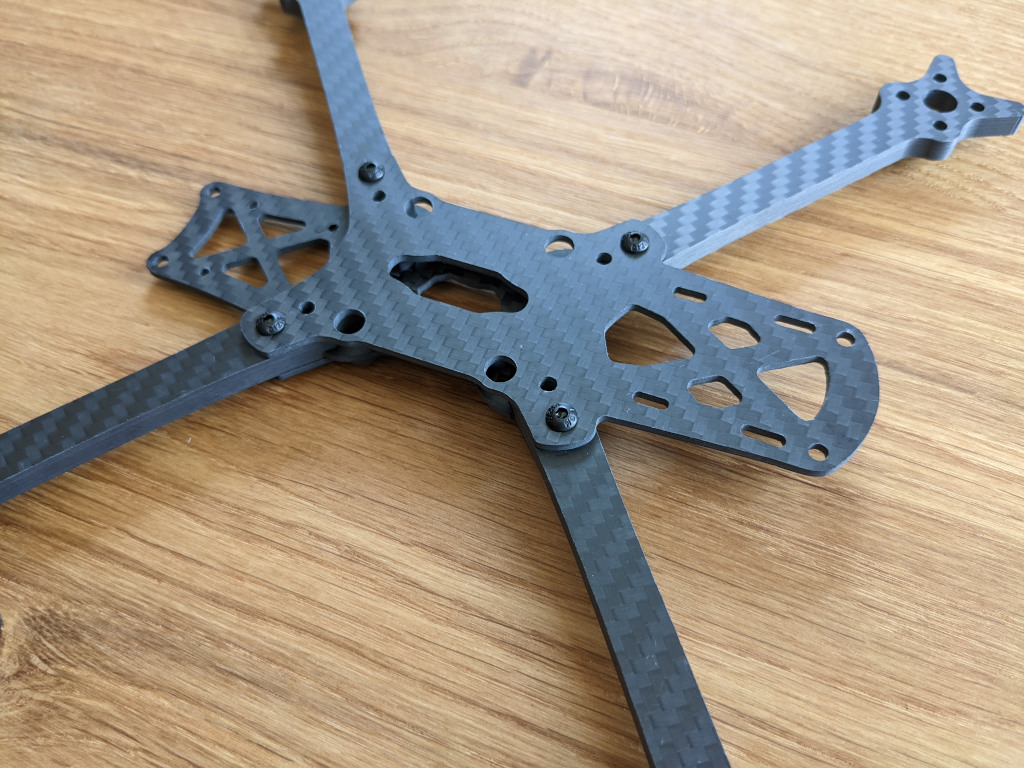
Step 2 - install arms
Slide arms into the interlock plate. Place the bottom plate over the arms and align it with holes in the arms. Insert and tighten M3x12mm steel screws into the outer pressnuts.
TipIf you are going to use 20x20mm electronics, place stack screws before the bottom plate. You will not get direct access to these screws once this step is completed.
TipThe access to the 30.5x30.5mm stack screws is possible even in a fully assembled frame by using the grommets in the bottom plate.
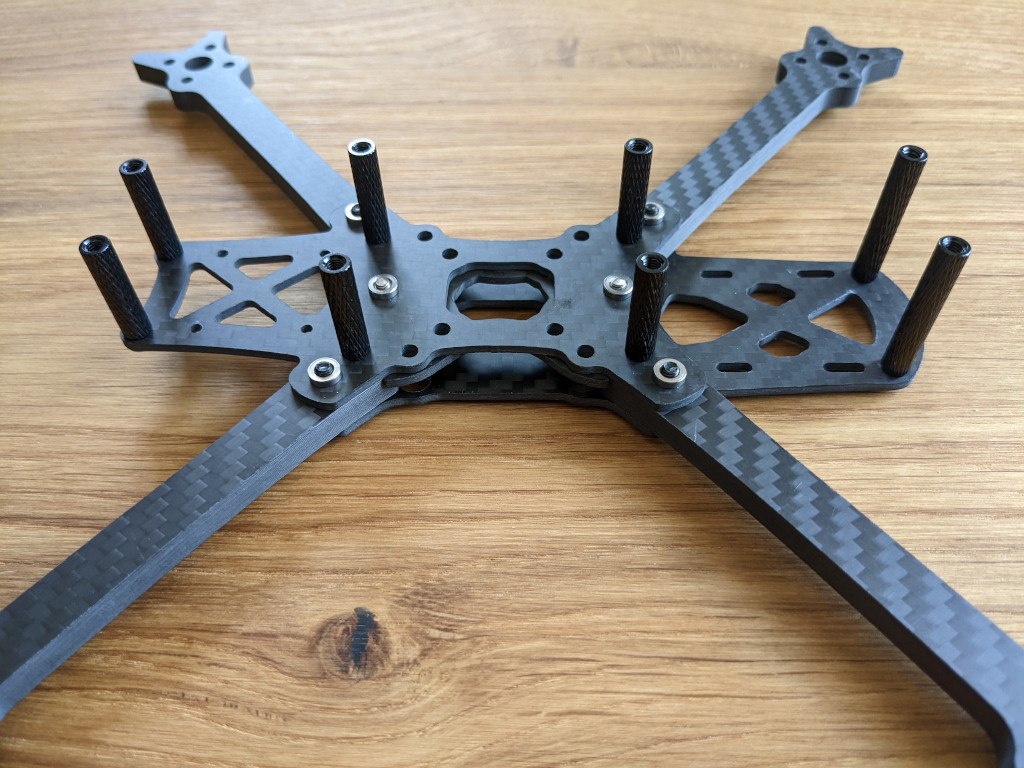
Step 3 - install standoffs
Secure the arms using M3x16mm steel screws into 20mm aluminum standoffs. Install 28mm aluminum standoffs in the front section using M3x8mm titanium screws through the bottom plate. Install 20mm aluminum standoffs in the rear section using M3x8mm titanium screws through the center plate.
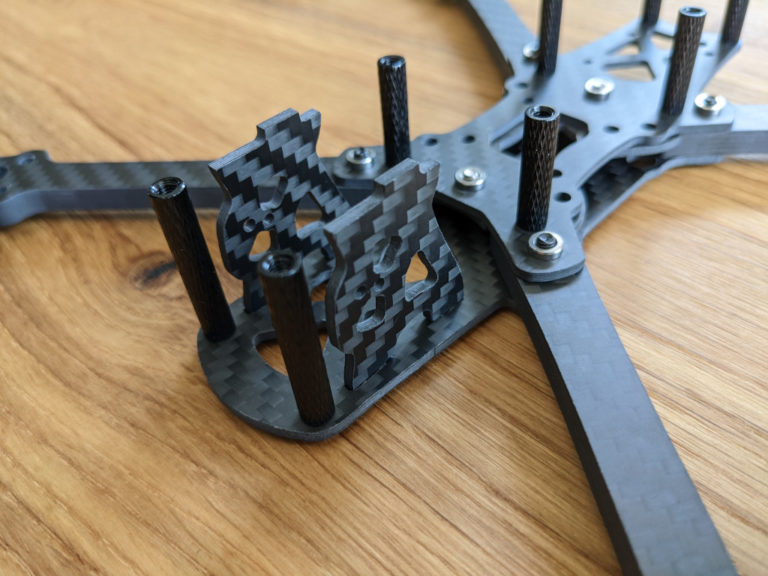
Step 4 - install the side plates
Place the two side plates into the holes in the bottom plate.
TipScrape a little bit of carbon fiber in corners next to the side plate's tabs. Side plates should fit tightly but with no tension on the bottom and top plate.
TipChoose a 3d-print that matches your FPV camera size and its mounting pattern.
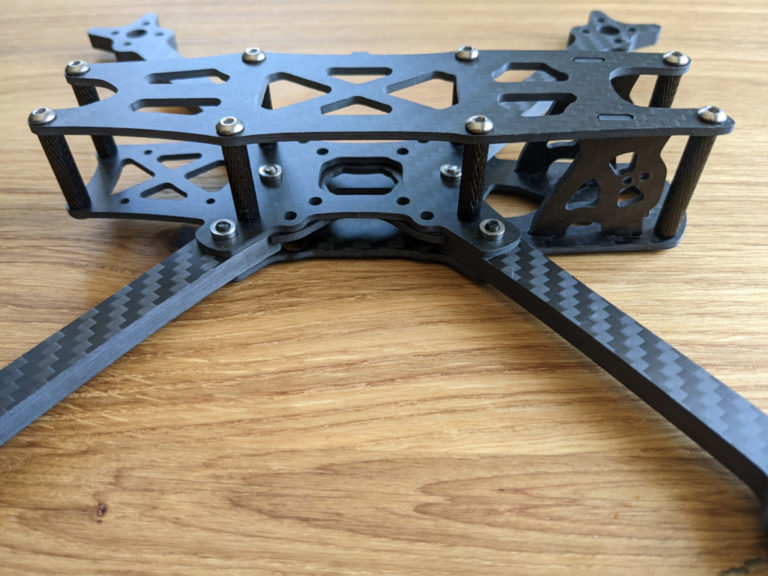
Step 5 - install the top plate
Place the top plate aligning it with aluminum standoffs and the tabs on the side plates. Push the top plate down so the tabs on the side plates slip into the dedicated slots in the top plate. Secure the top plate using titanium M3x8mm and M3x10mm screws.
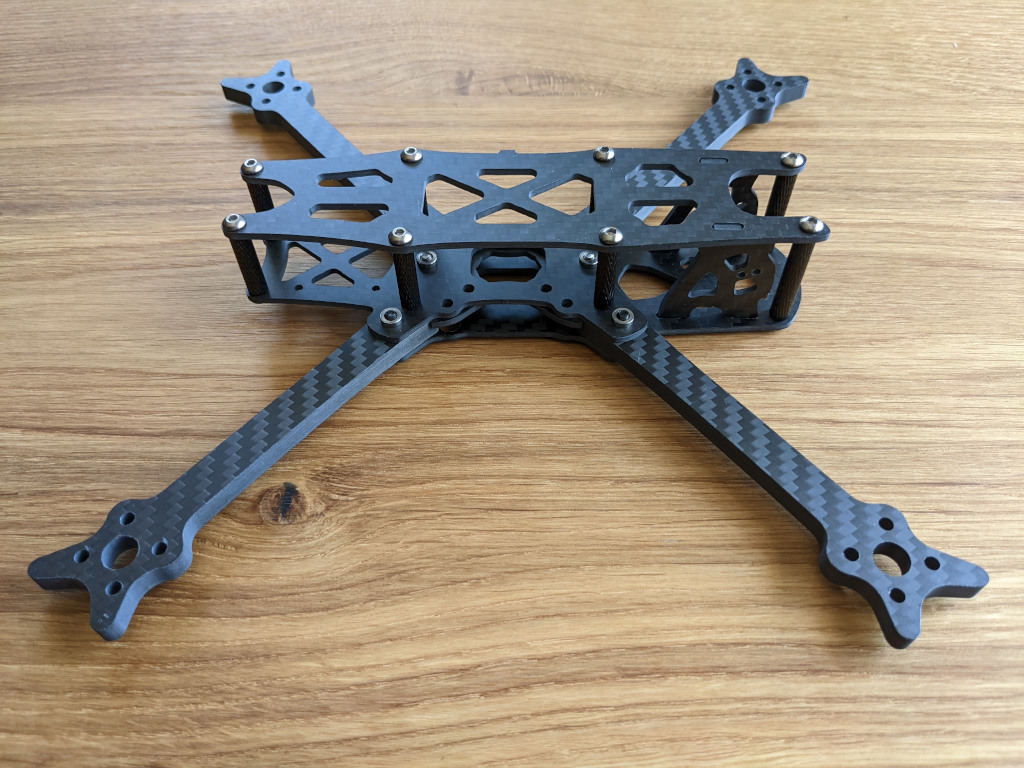
Build complete
Now the frame is fully assembled and ready to install chosen motors, electronics and some 3d-printed stuff. Then put the props on and keep flying!
HD variant
The HD variant lets you use the full DJI Air Unit. The rear section is rebuilt to have enough space for this big digital module. The top and center carbon fiber plates are affected and silicon lipo pad to match the new top plate. Neither the geometry nor the arms have been changed relative to the original frame design.
Lowrider mod
The Lowrider version is not the easiest to build but has a few advantages. The heavy parts of a drone such as LiPo battery and GoPro camera can be lowered resulting in more centralized mass distribution. It also reduces some weight. The Mod comes with a set of 12mm aluminum standoffs and the new side plates that strengthen the long flat front section. Use 20mm standoffs from the original frame for the first row near the FPV camera.
TipThe nano-sized FPV camera is highly recommended. Micro-sized camera fits only with no tilt, otherwise it would touch carbon fiber plates.
TipUse AIO in the central section. Alternatively place any ESC there and a 20x20mm flight controller using holes in the rear section.
Thoughts
The frame is the most crucial part of a drone as it keeps all the parts together and protects them. It also determines the flight characteristics. Regardless of the electronics chosen, the most important thing is the way you build. Thus two quads with the same set of parts can fly completely different. Here I gathered a few general tips you can find useful in every new build.
First think, then build. Watch diagrams, make a plan, shorten wires. Less mess, less stress. Clean build makes maintenance easier.
Secure the Frame and motors screws using Loctite.
The carbon fiber and aluminum are both electrical conductors, so keep electronics eg. SMA pigtail far away to prevent short circuit.
Fasten all the loose parts like receiver, VTX and wires using zip ties or double sided tape. Otherwise they can resonate badly making noise on the gyro or be chopped by propellers.
Avoid unnecessary stuff. Every saved weight matters. It makes a drone more responsive and crashes less painful.
Use long stack screws, rubber grommets added to every modern stack and self-locking nuts below the ESC.
After resolving any hardware issues, finally tune your quad.